Tools to be prepared:
When removing the old packing and replacing it with a new one, special tools are required, and the gland nut is pre-tightened with a fastener. In addition, standard safety equipment and compliance with relevant safety regulations must always be used.
Before installation, you must first be familiar with the following equipment: torque wrench or wrench, safety helmet, lubricant for fasteners, brushes, packing extractors, knives for cutting packing, PTFE raw tape, rubber hammers, disposable Cleaning cloth, cotton cloth, special corrosion-resistant glue.
Steps
Slowly loosen the gland nut of the stuffing box to release all residual pressure in the packing assembly;
Brush a layer of glue evenly on the bottom surface of the groove, the thickness of the glue layer should be controlled within the range of 1~2mm, and it must be uniform, and it must not encounter water after glueing;
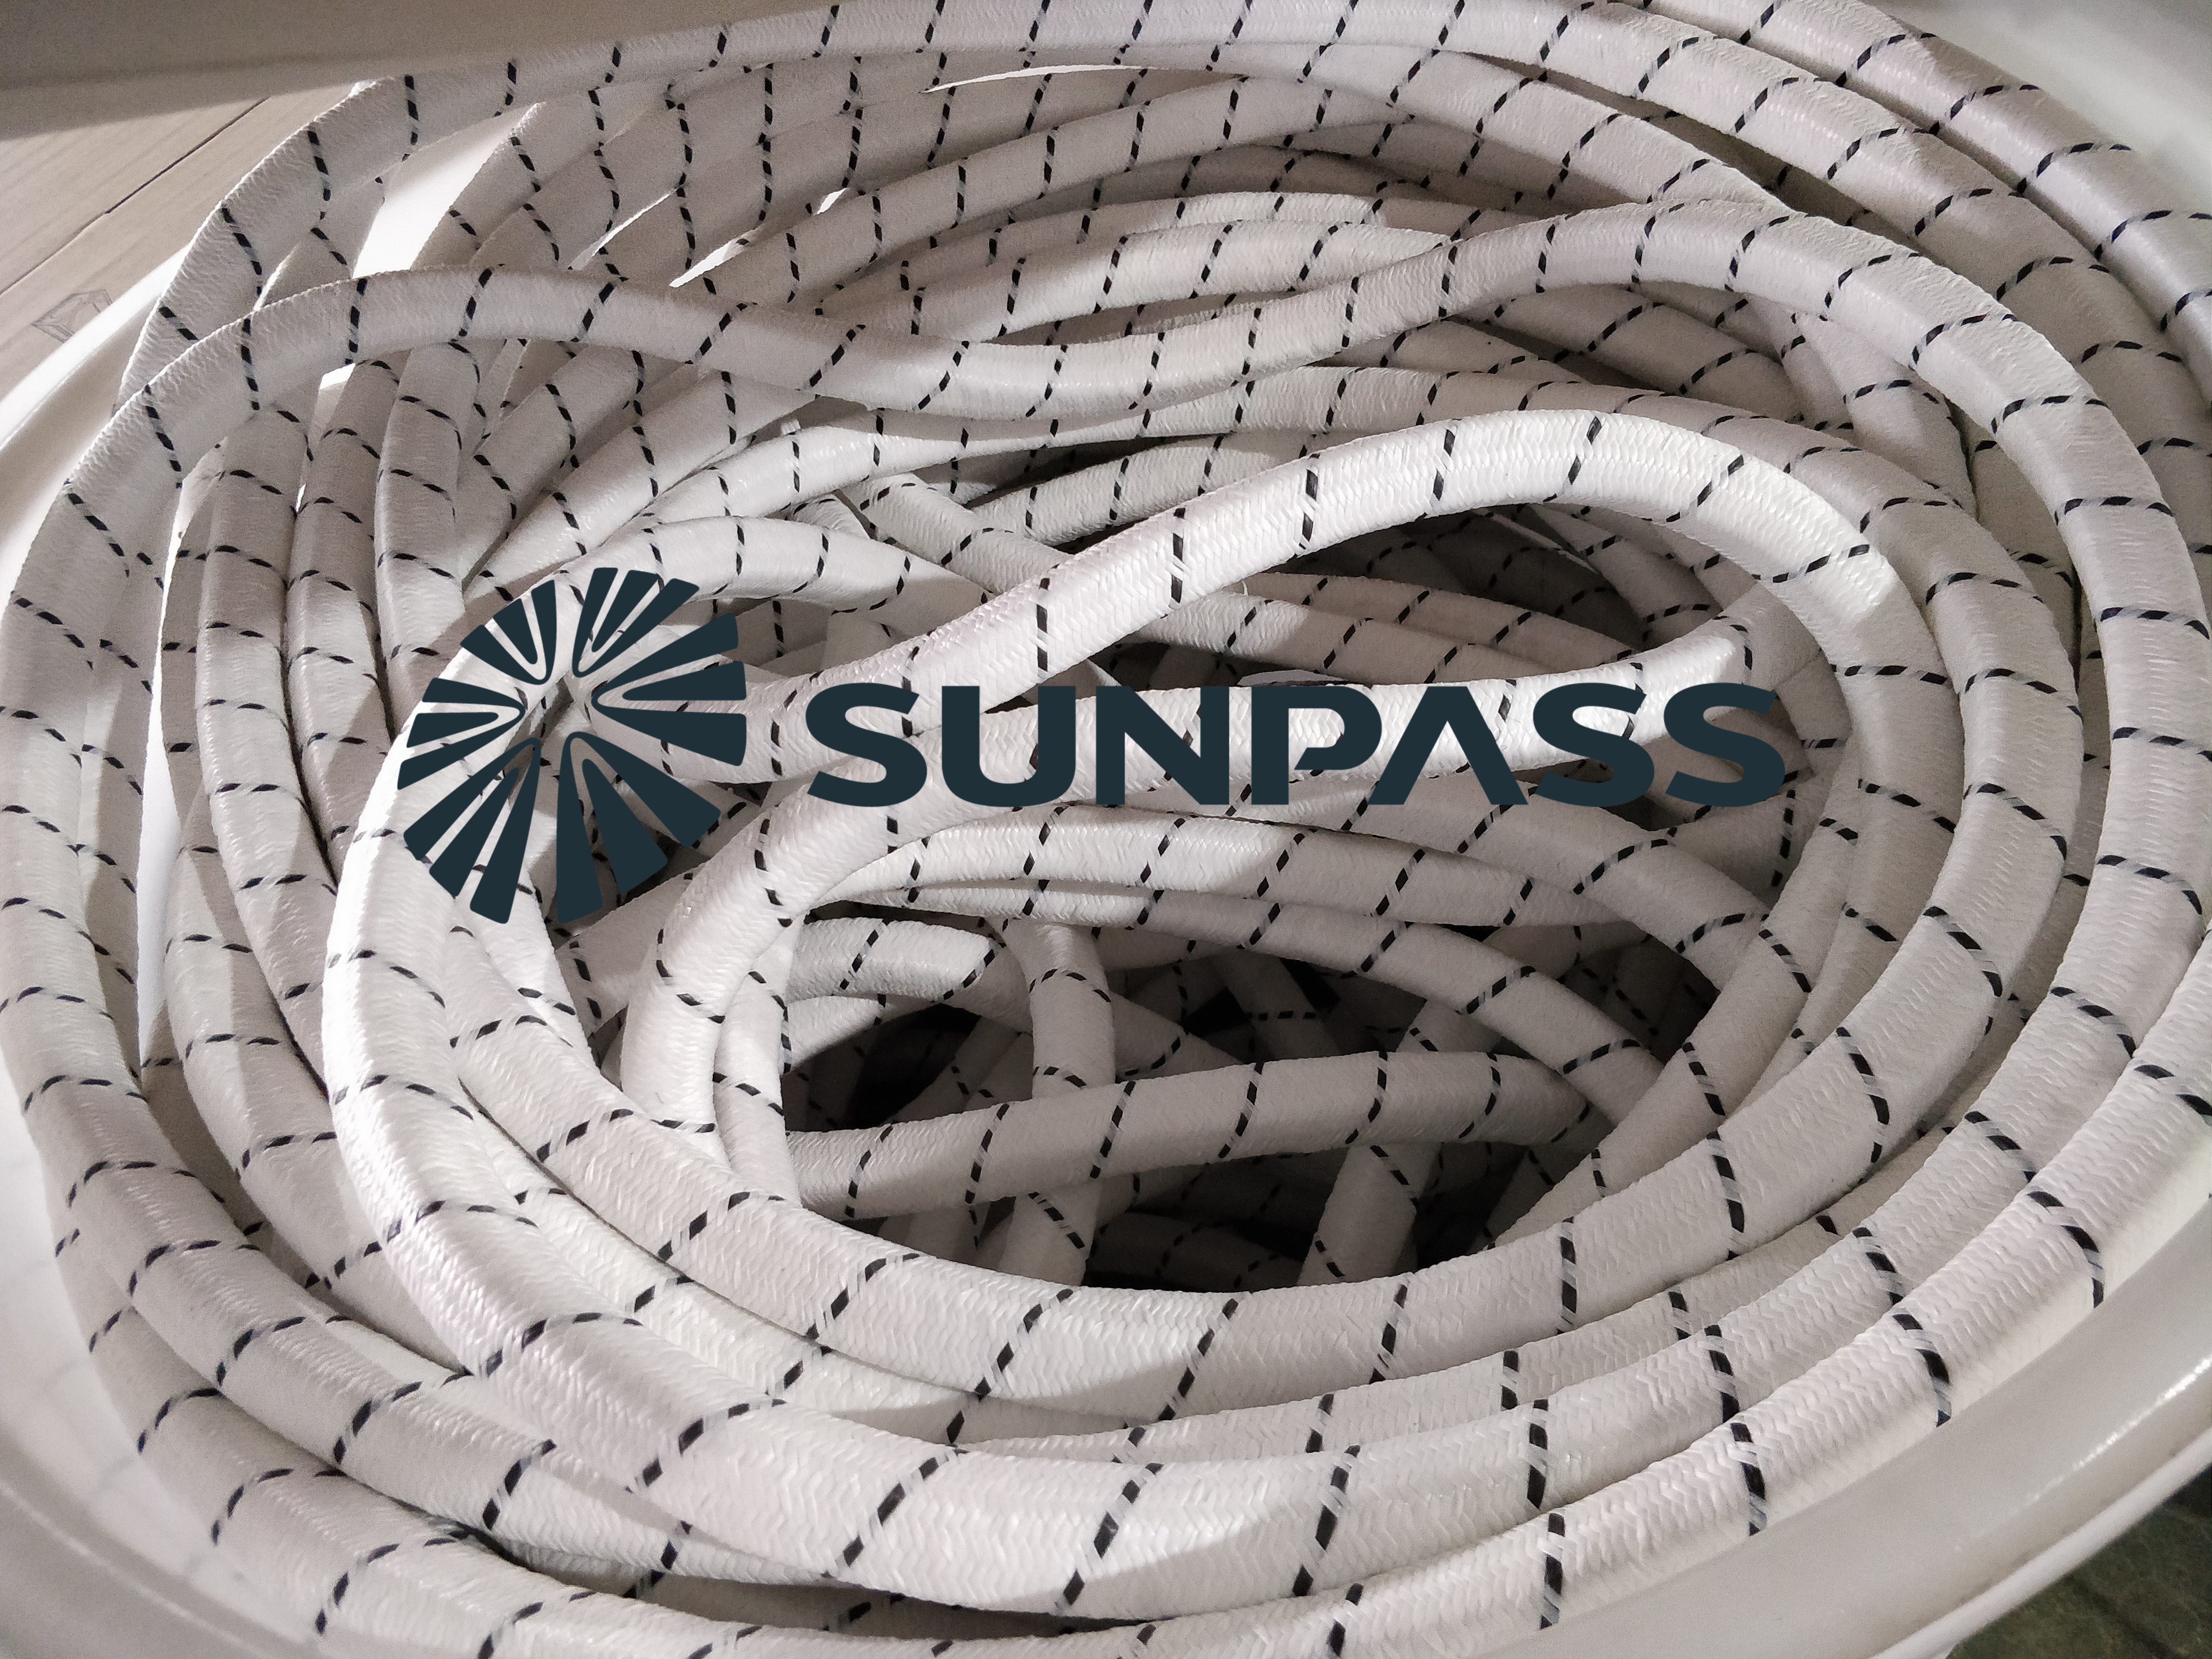
Check the size of the lower packing and the cleanliness of the packing surface before installation to ensure that the size of the selected packing is suitable for the size of the tank cover groove (it is required to have a certain sense of compactness when pressing the packing into the groove, neither too loose nor too tight ) and the packing does not appear to be disconnected; when installing the packing, first press the middle part of the packing into the groove, and then slowly press it into the groove from the middle to both ends, leaving 300mm at each end to facilitate interface processing;
Use a calibrated packing ring cutting machine; cleanly cut the paired joints of the packing (45 or 60 degrees) according to the actual required length to ensure the smoothness of the cut;
Apply a layer of 2~3mm adhesive layer on the incision; fit, wrap 2 to 3 layers of polytetrafluoroethylene raw material tape near the incision (within 15mm); install the remaining incision;
other considerations
For double-layer sealing of the upper and lower covers, the incision positions should be staggered, at least 90 degrees apart, and generally 120 degrees are required; use a rubber hammer to knock the Tank Lid Packing evenly along the groove to ensure that the packing is in full contact with the groove surface and glue;
Installation and pre-tightening: After installation, the hatch cover should be closed immediately and pre-tightened for more than 12 hours, and it should not be opened; when tightening the hatch cover nuts, it should be tightened evenly several times to avoid local over-tightening.
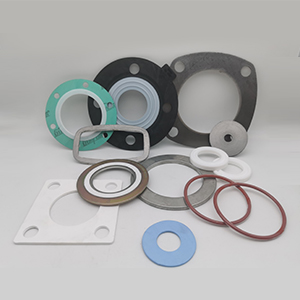
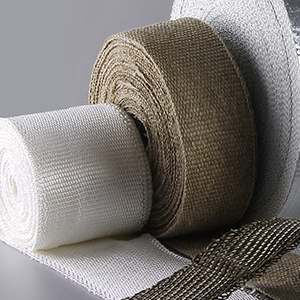
Top-Sealing since1979, specializes in producing high quality Packing, including: Aramid Gland Packing、PTFE Gland Packing、Graphite Gland Packing、Carbon Gland Packing、Ramie Gland Packing、PTFE Gaskets, Graphite Gasket, Graphite Ring,Graphite Paper, Graphite Sheet, Graphite Tape, PTFE Sheet, Fiberglass Cloth, Fiberglass Tape, Fiberglass Rope, Ceramic Fiber Cloth, Ceramic Fiber Tape,Ceramic Fiber Rope
Sunpass Sealing Technology (Zhejiang) Co. LTD
• Zhejiang Top Sealing and Insulation Co.,Ltd.
• Echo Industry Limited
• Tenglong Sealing and Thermal Insulation Manufactory
 English
 русский
 Español
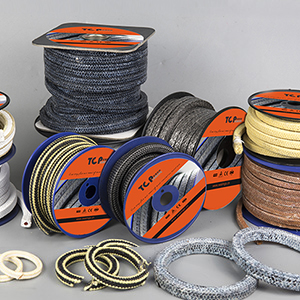
